Description
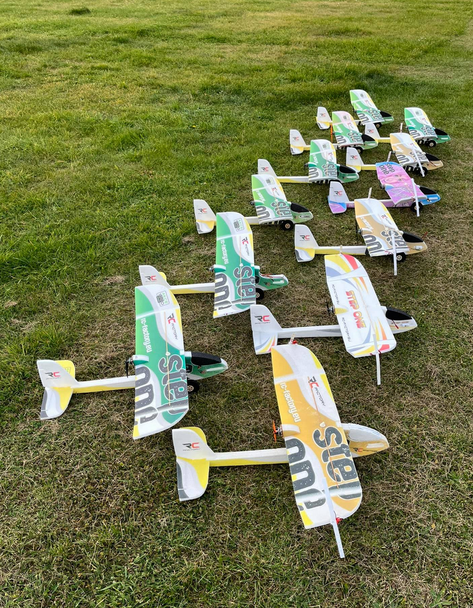
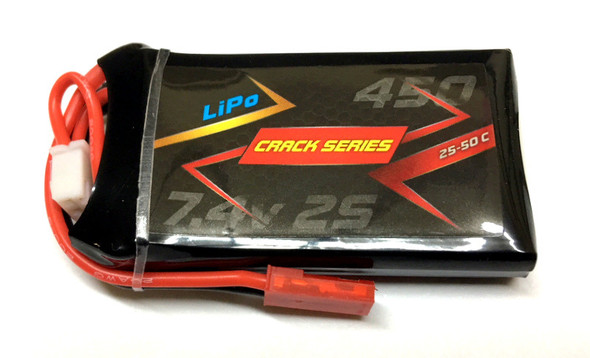
Easily removable wing makes transporting the plane no problem and so you can take it with you even on vacation. The Step-One is supplied with the landing gear, so you can practice take-offs and landings on the ground. Due to the large wheels the Step-One can handle even start from mowing grass. Landing gear can also be removed to increase flight performance for longer flight time. You can even soar with the eagles with the Step-One, we have seen 30+ mins of run time catching air thermals with a standard 2s 450mah with ease. Enjoy flying with the new Step-One!
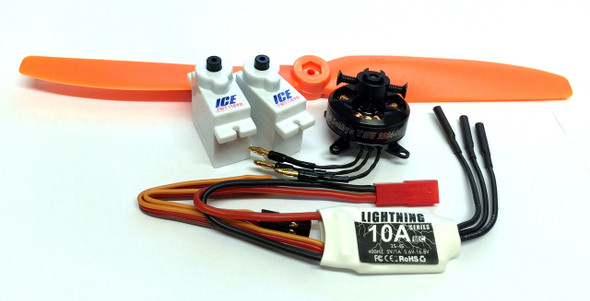
Required Power System link: Power system components:
ICE 5G TWS0705D Servos (2 required)
CSP-2203-1800KV Motor
CSP-15A ESC
6x4.1 APC 3DSF Prop
3 Reviews
-
Excellent early plane for your RC journey
I am new to the hobby and this is the first plane I have ever built. First, I give 5 stars to the Twistedhobbys team for their outstanding support to me. I emailed them at many points during the plane build, and promptly received all the help I needed. They pointed out several critical factors and recommended changes in the build process, which were not part of the provided build instructions. Having such resource help available is key for a newbie. A few tips for this plane and for the newbie's: - Of course I crashed it several times. The crashes are typically nose plants. The nose will get fully damaged, cracked fully through and may detach. CA foam glue alone is not sufficient for repairs. Best to get some flexible fiberglass screen (the window type); cut strips to fit around the entire nose area forward of the wheels. Tack it down with adhesive like Scotch 77 spray, then put several beads of medium CA over the screen mesh, spread it out with wood stick. This creates a fiberglass like shell, light-weight, and so strong you won't break the nose. - Put the ESC in the plane at step 28, not step 96 as shown in the manual. - Don't glue in the servos as shown in step 70, until you are fully completed with the plane and have verified that all servos work and are in final proper alignment. - Regarding the plastic tubes in step 30 that will house the carbon push rods, make sure that the push rods extend about 1 inch beyond the plastic tube on both ends. This will allow the push rods to freely move enough distance. I had one not centered well, which caused one servo range of motion to be restricted to one side. - The white plastic tubes in step 30 should be pushed into the fuselage, and when the plane is fully done and verified, put a dab of CA to secure them at one or two points. - There is a youtube six video build series I found for the plane. The author deviates significantly from the directions and puts in custom flaps on the wings. This video series is too much, too advanced for a beginner, but there are some helpful tips and guidance for the beginner. https://www.youtube.com/watch?v=iUoUZIhC0bM&t=1s - I purchased the recommended power-pack. This is most helpful for the newbie. - And, for the newbie, remember to have a proper LiPo battery charger with both connector cables. I was able to use a universal charger I have for our RC cars, but had to buy two additional adapter cables and get instructions on how to properly charge and maintain LiPo batteries. This is really a fun plane. It turns sharply and goes fast enough. After trying four beginner planes and checking many online, I regard this as one of the best beginner planes available.
-
works well for beginner
I looked carefully for a good beginner plane for my grandson. This model is perfect and accurately described. My grandson is 10. He flies it from take offs to landings without my help at all. Really loves it.
-
EPP STEP-ONE TRAINER
The step-one went together quickly, it is quite durable being EPP foam, I did add some carbon fiber to the fuselage but it would have flown OK without it. It is easy to hand launch and can be flown quite slow, it tracks good, I have been flying it on a 950 2 cell lipo and it has plenty of power (emax 1806 2280 kv) 6" x 4.5 prop 12 amp esc


